Host Print Templates in the Geocortex Viewer for HTML5
Configure an HTML5 Viewer to Host Print Templates
To configure an HTML5 viewer to host a print template, you add the template to the Essentials site. You can then edit the template and configure the map scales and resolutions that you want to make available to the end user.
To configure a Geocortex HTML5 viewer to host a print template:
-
Edit the site in Geocortex Essentials Manager.
-
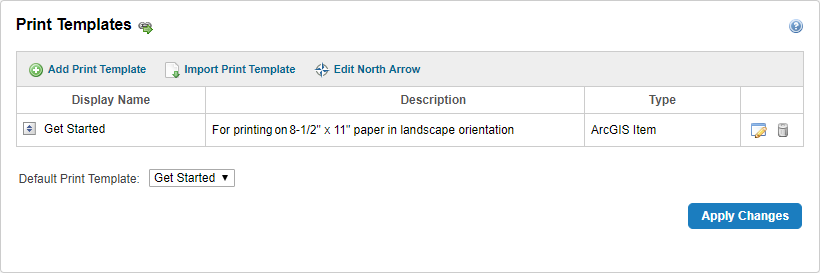
Click Print Templates in the sidebar.
-
Click Add
The Create
-
Type a display name and optional description for the template.
The HTML5 Viewer's Print function uses the display name to list the available templates for the user.
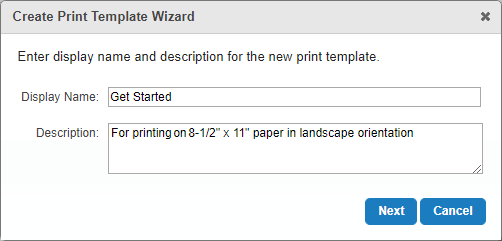
Example display name and description for a print template
-
Click Next.
-
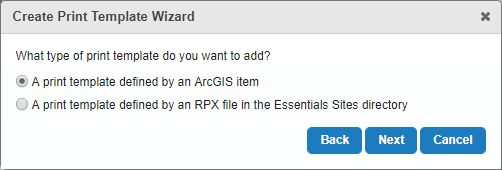
Make sure A print template defined by an ArcGIS item is selected.
-
Click Next.
-
Type some text to search for the
Alternatively, copy the
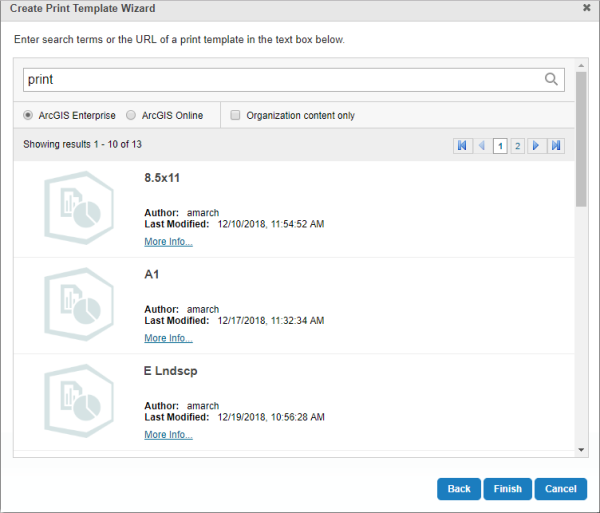
Example ArcGIS print items
-
Locate the
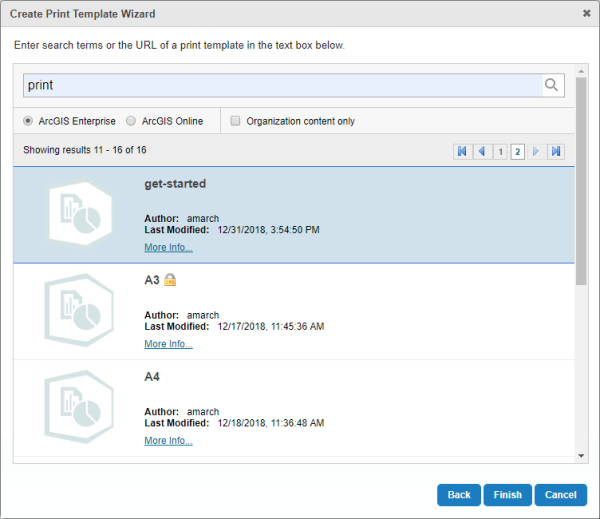
Print item selected
-
Click Finish.
The
-
Click Save Site.
The viewer now hosts the print template. Users can run the print from the viewer.
Configure Map Scales
You can configure a host viewer to offer particular map scales for the user to choose from.
By default, the Map Scales drop-down list has options to print at the current scale or to print the current extent. By default, the map prints at the current scale. When you configure map scales, the configured scales appear in the drop-down list with the default options.
To configure map scales to show in a host viewer:
-
In Geocortex Essentials Manager, edit the print template.
-
On the Map Scales tab, click Add Map Scale.
-
In the Scale box, enter the scale's denominator.
-
In the Display Name box, enter the name that you want to use for this scale in the viewer.
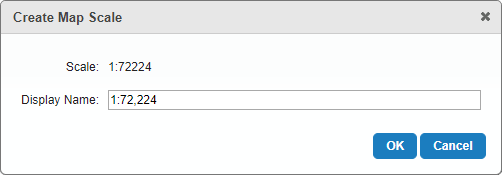
Example configuration for a map scale in Geocortex Essentials
-
Click OK.
-
Click Save Site.
Users will be able to print at the configured scale by selecting the scale in the Map Scale drop-down list.
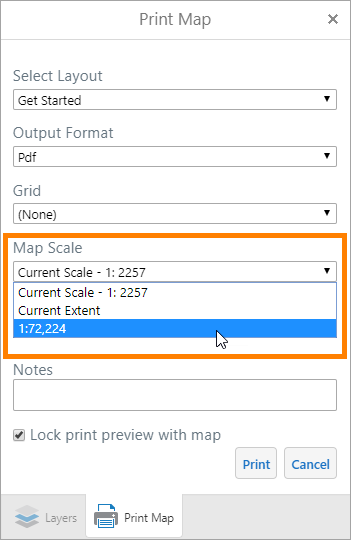
Configured map scale in the viewer
-
Repeat these steps to configure as many map scales as you want.
Configure Resolutions
You can configure a host viewer to show resolutions for the user to choose from. The resolution determines the level of detail in the print output—the higher the resolution, the greater the level of detail. This affects the quality of the print output when it is displayed on a computer screen or printed to paper.
Generating a print at a higher resolution takes longer than generating the same print at a lower resolution, and it results in a larger output file.
By default, prints are generated at 96 dots per inch (DPI) and there is no option in the viewer's Print Map panel to change the resolution. If you configure a resolution, the configured resolution overrides the default resolution. In this case, the Print Map panel shows a Resolution drop-down list with one option: the resolution that you configured. If you want the drop-down list to also offer 96 DPI or other resolutions, you must configure them. You can configure as many resolutions as you want.
To configure resolutions to show in a host viewer:
-
In Geocortex Essentials Manager, edit the print template.
-
On the Resolutions tab, click Add Resolution.
-
In the Resolution (DPI) box, enter the resolution in dots per inch.
-
In the Display Name box, enter the name that you want to use for this resolution in the viewer.
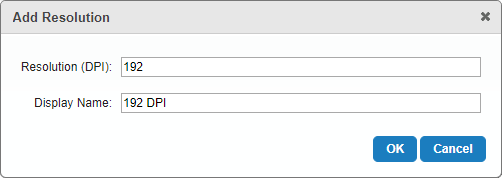
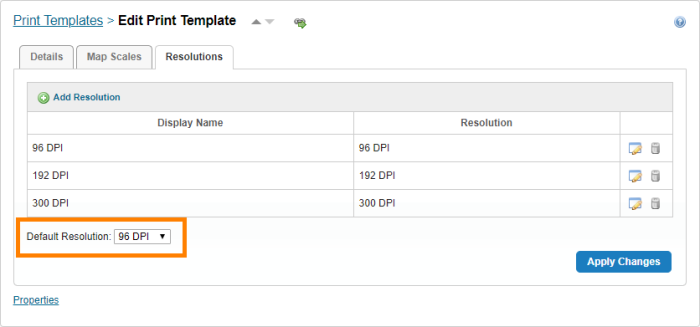
Example configuration for a resolution in Geocortex Essentials
-
Click OK.
-
Repeat these steps to configure as many resolutions as you want.
-
In the Default Resolution drop-down list, select the resolution that you want the viewer to use as the default.
-
Click Save Site.
The configured resolution(s) will show in the Resolution drop-down list.
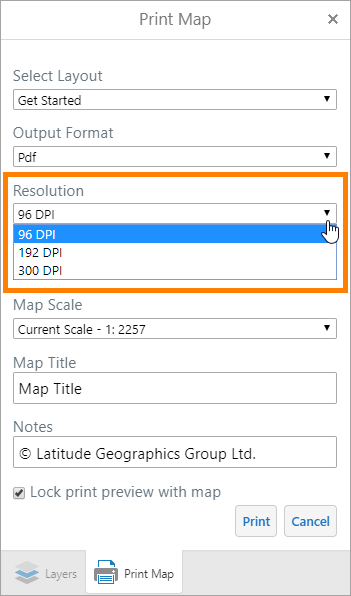
Configured resolutions in the viewer
See also...