Run a Print in a VertiGIS Studio Web App
To run a print in a VertiGIS Studio Web app:
-
Run the app.
-
Click the Print tool in the toolbar.
The Print Map panel opens and an overlay displays on the map. The window in the overlay shows the area to print.
There is no overlay for 3D maps. The print output will be centered on the visible portion of the map.

Print Map panel (
 ) and the area to print (
 )
) -
Pan and zoom the map to show the area you want to print.
If you want to print the map at a particular scale, enter the scale in the Print Map panel's Scale box and then pan the map. Entering a scale zooms the map to the closest available scale.
-
Configure the remaining settings:
-
Print Template: If the app hosts more than one print template, select the template to use.
If the app only hosts one print template, the Print Template setting does not show in the Print Map panel.
-
Resolution: If the app supports more than one resolution, select the resolution to use for the output, in dots per inch (DPI).
If the app only supports one resolution, the Resolution setting does not show in the Print Map panel.
The default resolution is 96 DPI.
-
Grid: To print a grid on the map, select the spatial reference for the grid.
The coordinates will print around the perimeter of the map image.
-
Rotation: To rotate the main map image clockwise, enter the angle in degrees.
The Rotation setting rotates the main map only. It does not rotate the overview map.
-
-
Click Print to submit the print request to VertiGIS Studio Printing.
The Print Map panel closes and the overlay disappears. A message displays indicating that printing has started.

You can close the message and continue using the app while the print is being generated.
-
When a message indicates that the print is ready, click the hyperlink to view the PDF.

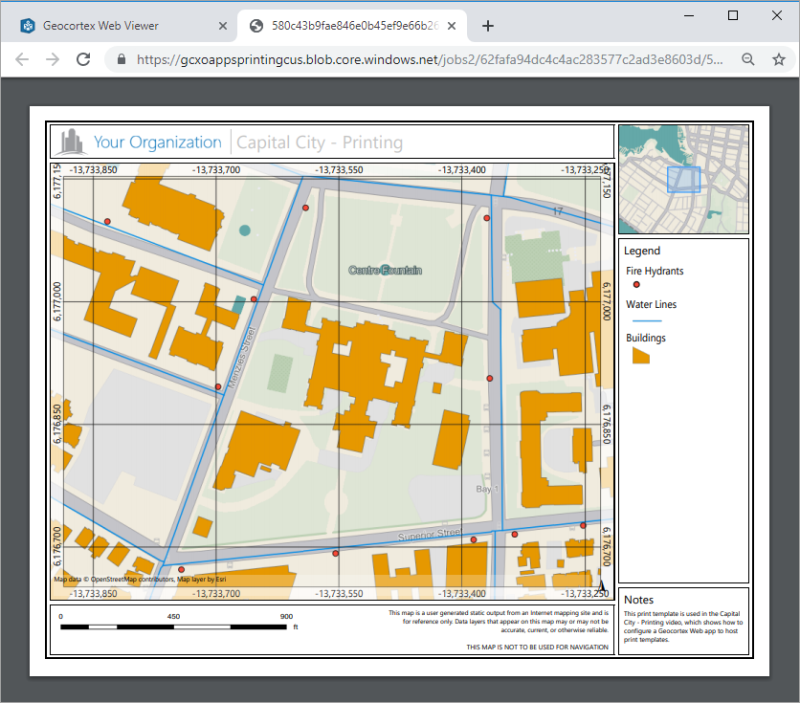
Example print output