Sign-In Settings
Sign-in settings control the appearance of sign-in and sign-out hyperlinks in viewers, and specify the page that the user's browser goes to after the user signs out (the landing page). Every site has its own sign-in settings, so different sites can have different sign-in behavior.
Clicking the icon ![]() beside the sign-out hyperlink shows the identity of the user that is signed in.
beside the sign-out hyperlink shows the identity of the user that is signed in.
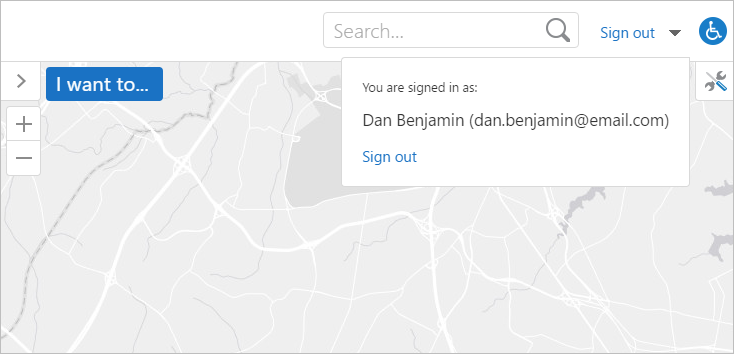
Identity of the current user
The sign-in and sign-out hyperlinks are useful for sites that are secured using multiple security providers. If you are using Anonymous Access and at least one other security provider, you should use both hyperlinks. When a user launches the viewer, the site loads with Anonymous Access - Guest permissions. The sign-in hyperlink allows the user to sign in to a security provider with access to additional parts of the site. The sign-out hyperlink allows the user to sign back out to Anonymous Access, or to the landing page if you have configured one.
If you are using multiple security providers, but not Anonymous Access, you only need the sign-out hyperlink. The only time the viewer is displayed in the browser is when the user is signed in. If the sign-in hyperlink is enabled, the user will never see it.
If you are using a single security provider, you might want to enable the sign-out hyperlink and configure a landing page. For example, if users launch the viewer by clicking a hyperlink in your company website, you might want to return users to the company website when they sign out.
In a situation where you configured a site for Windows Integrated authentication only, users can sign in to an HTML5 viewer for that site with their Windows credentials. However, when they sign out, if a sign-out landing page has not been specified, they are automatically returned to the viewer and signed in with their Windows credentials. To prevent this from occurring, click Permissions in the side panel in Manager to open the Permissions page, and then click the Sign-In Settings tab. Add a landing page in the Sign-Out Landing Page URL field using the full URL format. Then, when users sign out, they are re-directed to the specified landing page rather than being signed back into the viewer.
Configure Sign-In Settings
Each site has its own sign-in settings.
To configure a site's sign-in settings:
-
In
-
Click the Sign-In Settings tab.
-
Configure the settings as desired:
-
Enable Sign-In: When this checkbox is selected, the site's viewers have a sign-in hyperlink that shows when the user is not signed in. This is useful for sites that are secured using Anonymous Access and at least one other security provider—it allows the user to sign in from Anonymous Access to a security provider that gives access to additional parts of the site. The Enable Sign‑In setting is turned on by default.
If you clear the Enable Sign-In checkbox, the sign-in hyperlink does not appear in the site's viewers.
-
Enable Sign-Out: When this checkbox is selected, the site's viewers have a sign-out hyperlink that shows when the user is signed in. Sign-out behavior depends on the landing page and security providers you are using. The Enable Sign-Out setting is turned on by default.
If you clear the Enable Sign-Out checkbox, the sign‑out hyperlink does not appear in the site's viewers.
-
Sign-Out Landing Page URL: The URL of the web page that loads after the user signs out. You can only configure a sign-out landing page when the Enable Sign-Out setting is turned on. For the landing page to work, the landing page URL must be configured as an allowable redirect URL on the Security & Data tab.
If you leave the landing page URL blank, the sign-out behavior depends on which security providers you are using:
-
Multiple Security Providers, Including Anonymous Access: The site reloads using the Anonymous Access - Guest permissions.
-
Multiple Security Providers, Without Anonymous Access: The list of security providers displays, so the user can choose the security provider to log in with.
-
Single Security Provider: The sign-in dialog box displays.
To use the landing page with Geocortex Identity Server, you must enforce SSL.
-
-
-
Click Apply Changes.